Why would you want to impose a PDF? I'm sure there are many answers that would fit that particular question. I think it is for efficiency sake. I want to use as little paper as possible, while making the experience of reading very clear.
Why impose PDFs? PDFs are very portable (Portable Document File), unless something is very remiss, it is an all contained document, page size, bleed, images, fonts, line art... it is ready for imposing.
The quick start! So, lets say you are searching the internet for a product you are learning you are interested in... you want to know if it will do what you need to get done, so you download the PDF. You think the product is right, but want to read the whole manual... Online reading is OK... but having a manual on paper helps quite a bit
Note the page order on each side of the sheet of illustration A1 and A2. The odd numbers are on the right and even numbers are on the left. When printing page 2 will end up behind page 1 and 15 before page 16. Note too, that the numbers add up to 17 on both halves, and through the whole document. So if you have a 16 page document, a properly built dummy will add up to 17, while a 20 page document will add up to 21.
 |
| A1 side 1 of imposed 16 page pdf |
 |
| A2 side 2 of imposed 16 page pdf |
Now that the dummy is completed, you can impose your document. When you are done printing you can use a medium size rubber band to hold the book together unless you have a long neck stapler
Please note this example is for a pdf that has the right amount of pages and we are not concerned about a couple issues that could arise, an original document that does not have a page count divisible by 4 and a document that bleeds (image comes off the edge of the sheet). We will tackle these issues in blogs real soon.
Please note this example is for a pdf that has the right amount of pages and we are not concerned about a couple issues that could arise, an original document that does not have a page count divisible by 4 and a document that bleeds (image comes off the edge of the sheet). We will tackle these issues in blogs real soon.
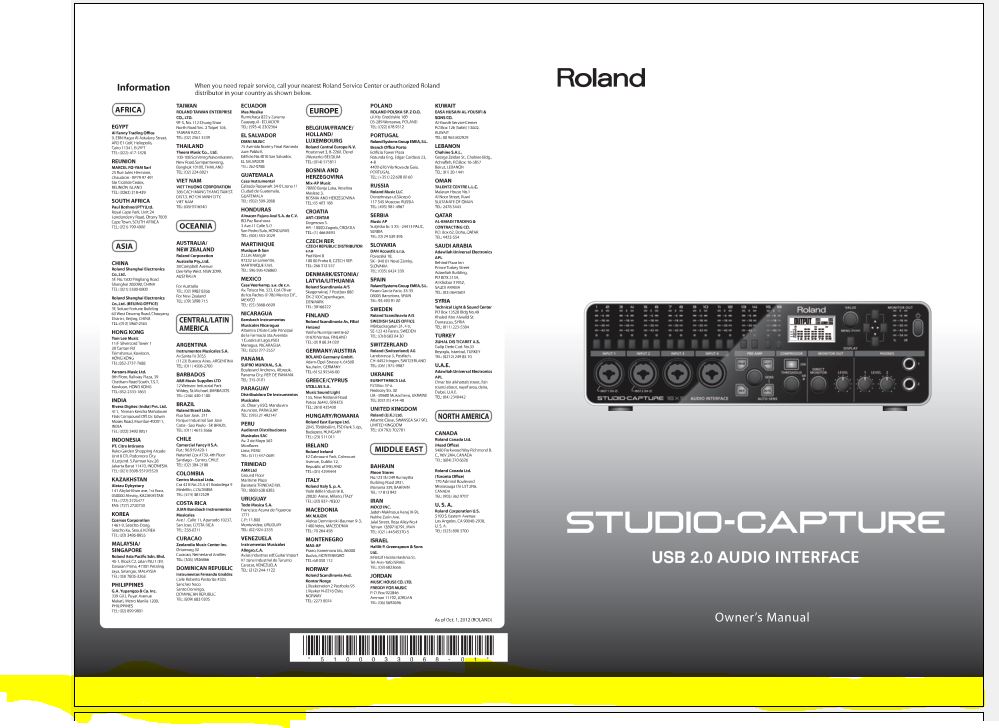
Up next is something with a twist. We have an 80 page RolandStudio Capture PDF. As much as I love imposition, I love music more and I am always reading PDFs online.... but when something really has my attention I like to print it out, and below is (B1) is what I have on hand. It is an interesting PDF for a couple of reasons it's not half letter size and the original document had bleed, but this doesn't. We have to make a practical judgement on this, we have (in the USA) a letter size sheet (8.5 x 11) that we will be imposing to, that's what we have in our printer. The original file size is half an A4 (approx). We also don't have bleed, but our limitation on this is to make the original impose well on a letter sheet. Seeing that the document is not commercial print in nature, we can live with it being slightly resized and having an uneven white border on the cover. If this were a commercial print job that came with the product it would look odd and unprofessional... but in this instance it is more personal in nature, so we judge less harshly.
Illustration B2, the scaling to fit is is done automatically to the original pdf to fit the finished sheet. (being able to set scale would be a nice feature in the next release of PDF Studio!).
The imposed cover looks a little odd because of the scaling and not having bleed in the original. Notice the highlighted portion of the bottom of the imposed sheet in Illustration B3. Sadly, this saga gets worse, but, it is not unusable as a finished document. The rest of the document does not contain bleed so even the scaling oddity looks acceptable, see Illustration B4. Illustration B5 shows the complete weakness of no bleed and disproportional scaling on three sides of the document!! You couldn't sell that to a blind man, he'd see the glaring issue! For home purposes or club, church group or friends, it's still ok! :)
 |
| B1 80 page PDF that is half an A4 sized sheet |
 |
| B2 in Paper tab, notice Auto Scale (to fit) is selected. |
 |
| B3 Imposed Cover Sclaed to fit, white gap is highlighted. |
 |
| B4 inside front cover scaled to fit, notice the scaling is not a problem since there is no bleed? |
 |
| B5 Printed Notice the white gap at the right, left and bottom |
 |
| B6 inside, the "Guts" do not bleed so the fit looks better than the cover |
Next time we will impose some simple items with step and repeat.
You're awesome for creating this! Thank you!
ReplyDelete